Use Word to provide content and easily view RFP requirements
OneTeam is a cloud-based platform designed to help government contractors take the pain out of writing proposals. As a writer, OneTeam provides you with a suite of tools that lets you focus on the proposal, rather than juggling lists of assigned sections, requirements, and keywords.
In order to access and edit your writer package, please follow these steps:
Access your writer package - Non-Microsoft 365 Users
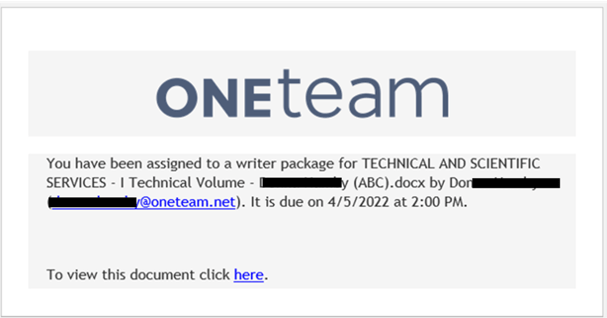
- When a writer package is assigned to you for an opportunity, you will receive an email notification letting you know that your document is ready for you to add content. The email contains the title of the opportunity (Technical and Scientific Services); the Volume number and name (1 Technical Volume); your name and your company name abbreviated (ABC); Proposal Manager name and email (Don..... @oneTeam.net); and the due date and time.
- Click on the link in the email or navigate to the opportunity in OneTeam and go to the Documents tab.
- Click on ‘Proposals’ in the tab toolbar and locate the writer package assigned to you. Notice the title of the Word document includes YOUR NAME. Also notice that beside the title of the document is a Description column, which contains the words Writer Package. This is your Writer Package. So, check for YOUR NAME and the words Writer Package. If both of those are there, then you are ready to open the document and complete your assignment.
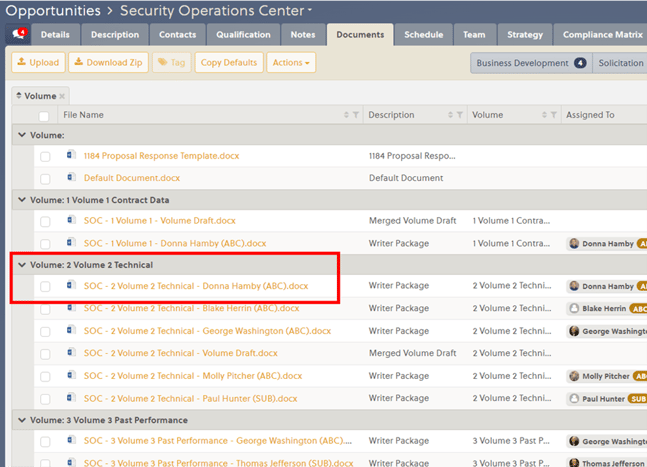
- Click on the File Name for your document to download it to your computer.
- Open the downloaded file in Microsoft Word.
- If a ‘Protected View’ alert is displayed, click the ‘Enable Editing’ button to continue.

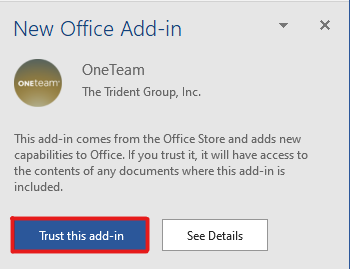
- If a ‘New Office Add-in’ panel appears to the right of the document, click the ‘Trust this add-in’ button. This will install the OneTeam Word add-in to your computer. Note: The OneTeam Word add-in is only compatible with Word 2016 or later.
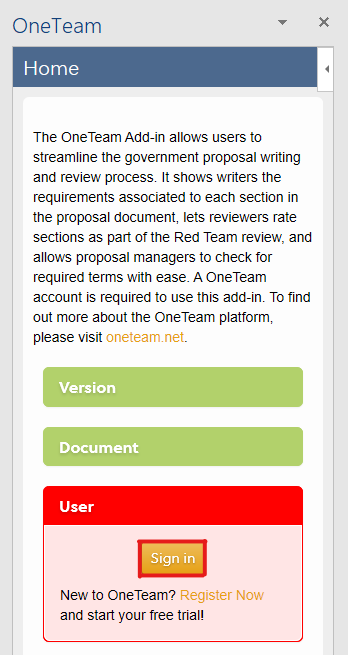
- If the OneTeam add-in prompts you to sign in, click the ‘Sign in’ button and enter your OneTeam account credentials in the window.
- A OneTeam tab should now also be available in the ribbon of Microsoft Word. The buttons under this tab will allow you to access each of the panels included in the OneTeam Word add-in. Note: If the OneTeam tab is not available, you may be using a version of Word 2016 that does not support add-in tabs. In this case, you can still navigate to different panels by hovering over the menu in the top right of the panel.
When Changes Occurs in the Outline or Assignments
- Over the course of the proposal process, changes may be made by your proposal manager that will affect your writer package. Some of these changes include adding or removing assigned sections, renaming section headers, and making updates to requirements. When one of these changes occur, an alert will show up in the OneTeam Word add-in panel letting you know that changes in the outline or assignments have occurred.

- Save your document. Next, upload your writer package to OneTeam.
- The Proposal Manager will issue a new writer package and you will receive an email when it is ready for you to begin work. You may notice that sections have been added or removed from your document.
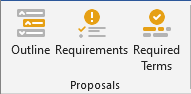
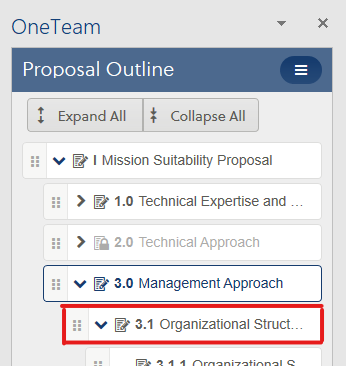
Outline Add-in Panel
- To open the Outline panel, click the ‘Outline’ button under the OneTeam tab.
- From here you will be able to view all of the proposal sections in the volume, not just headings that are assigned to you.
- Click on one of the headings in order to navigate to that section. Headings that are grayed out are assigned to other writers and are not available inside of your writer package.
Requirements Add-in Panel
- To open the Requirements panel, click the ‘Requirements’ button under the OneTeam tab.
- From here you will be able to view the requirements and required terms for each section that you are assigned.
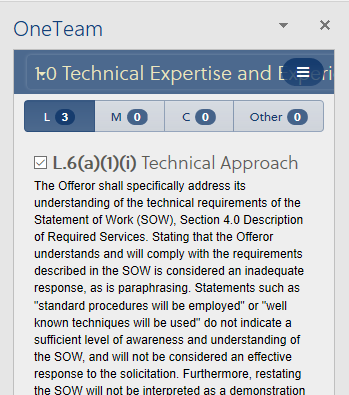
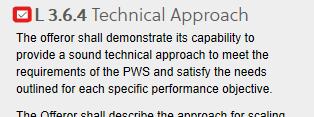
- To view the requirements for a specific section, click within the bounding box for that section in your document.
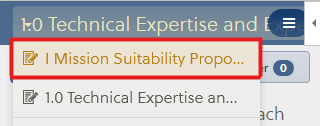
- To view the volume level requirements, click the dropdown at the top of the panel and select the volume option in the list.
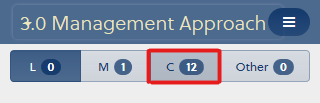
- Requirements are split by type: Section L, Section M, Section C, and Other. To see the requirements for each type, click on the corresponding button near the top of the panel.
- When you have met a particular requirement within the content of your section, make sure to check it off by clicking the checkbox next to the requirement heading. This information is made available to your proposal manager to gain a better idea of your overall progress.
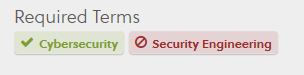
- Required terms for each requirement are displayed under the requirement description. Make sure and include each phrase in your content for that section in your document. The term will automatically turn green when it is used in the assigned section.
- The status bar at the bottom of the panel displays the page limit for the current section in addition to the number of requirements that have been marked as completed.

Required Terms Add-in Panel
- To open the Required Terms panel, click the ‘Required Terms' button under the OneTeam tab.
- From here you can see all of the required terms across all of your assigned sections.
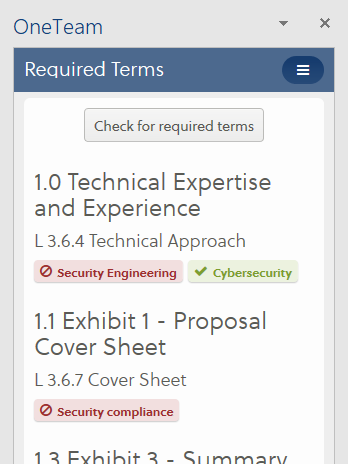
- Terms that are found are green while terms that are missing are red.
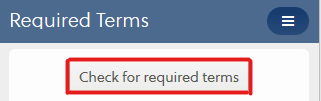
- Click the ‘Check for required terms’ button to rerun the check.
Upload Your Writer Package
- Once you have completed adding content to your writer package, you will need to upload it back to OneTeam so that your content can be validated and included in a review volume. Note: These steps are only needed for users NOT working in MIcrosoft 365.
- Save your revised writer package in Word.
- Navigate to the opportunity in OneTeam and go to the Documents tab.
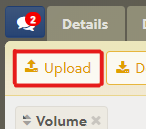
- Click on ‘Proposals’ in the tab toolbar and ensure that your writer package is in the list.
- Click the ‘Upload’ button in the tab toolbar.
- In the window that appears, select your revised writer package, and click the ‘Open’ button.
- Make sure that the Uploaded On timestamp for your writer package has been updated.