Grant different levels of access to your company's opportunities and settings
OneTeam has a robust and flexible permissions management systems designed to let you give as much or as little access to your users. The following sections outline how to set these permissions at both global and Division-specific levels.
Adding Users
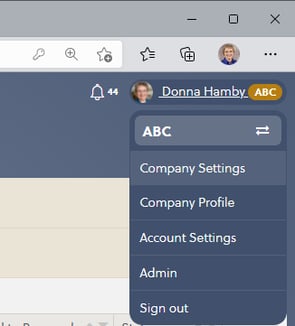
- Go to Company Settings in OneTeam via the Account Menu in the top right of the page.
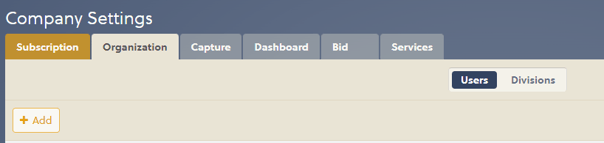
- Under the Organization tab, go to Users.
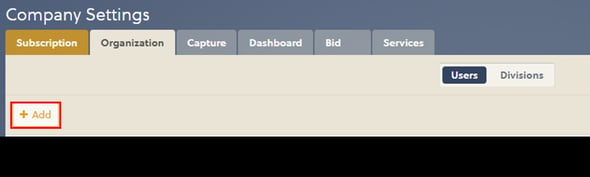
- To add a new user, click on the Add button.
- In the Add User window fill in the Email, First Name, and Last Name fields.

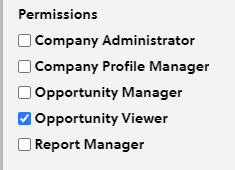
- Select the permissions that you want to give the user:
- Company Administrators are able to edit Company Settings and approve requests to join the company
- Company Profile Managers are able to edit the Company Profile
- Opportunity Managers are able to add and edit all opportunities
- Opportunity Viewers are able to view all opportunities
- Report Managers are able to add and edit reports in Analytics (this feature is in Private Preview)
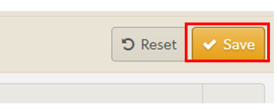
- Click Save to add the user to your company. They will receive an email with a temporary password and instructions on how to sign in.

Editing Users
- In Users under the Organization tab, click the Edit button for the user you wish to update.
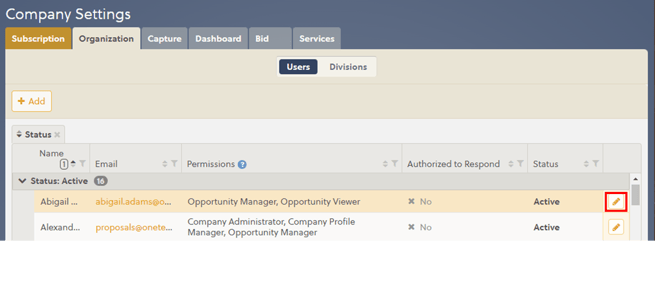
- In the Edit User window, you may modify the Permissions and Active status (unchecking this removes all access for this user from to your OneTeam data).

- Click Save to commit these changes.
Setting Permissions at the Division Level
This feature is only available for companies with a Pro or Premium subscription.
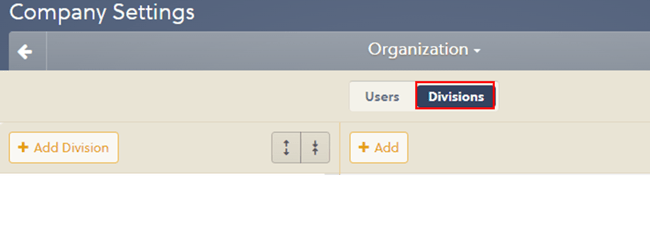
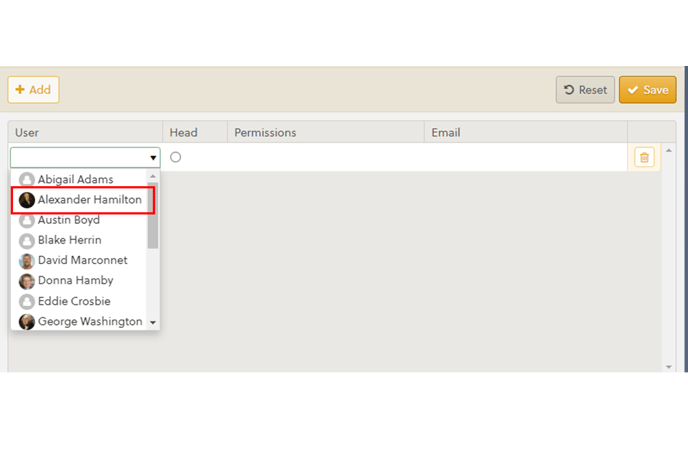
- Under the Organization tab, go to Divisions.
- To assign a user to a Division, select the Division on the left and click the Add button.
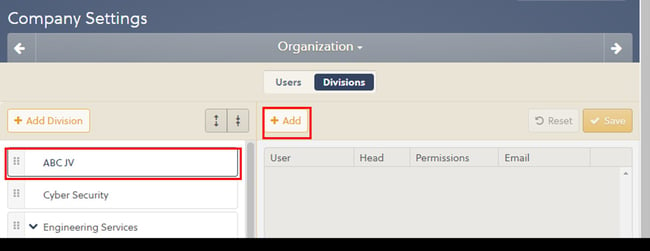
- Select a User from the list.
- Select one of the Permissions available at the Division level:
- Opportunity Managers are able to add and edit all opportunities at this Division or below
- Opportunity Viewers are able to view all opportunities at this Division or below
Note: Permissions may also be combined. For instance, to allow a user to view all opportunities in the entire pipeline but allow them to edit at a specific Division, give that user Opportunity Viewer on the Users list, and Opportunity Manager at the Division.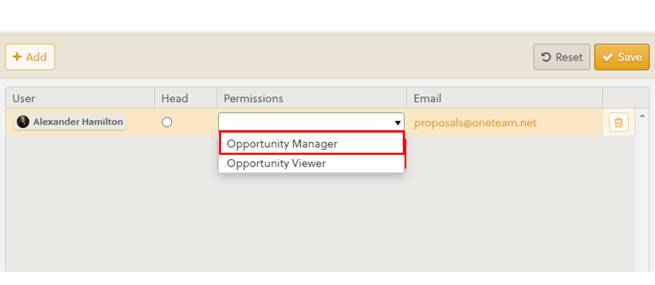
- Click the Save button to commit these changes.